Page: Telemetry - Set Data Destination
Log in to the device, see separate article in this section.
Once logged in navigate to the Telemetry tab, followed by the TX Options menu on the left.
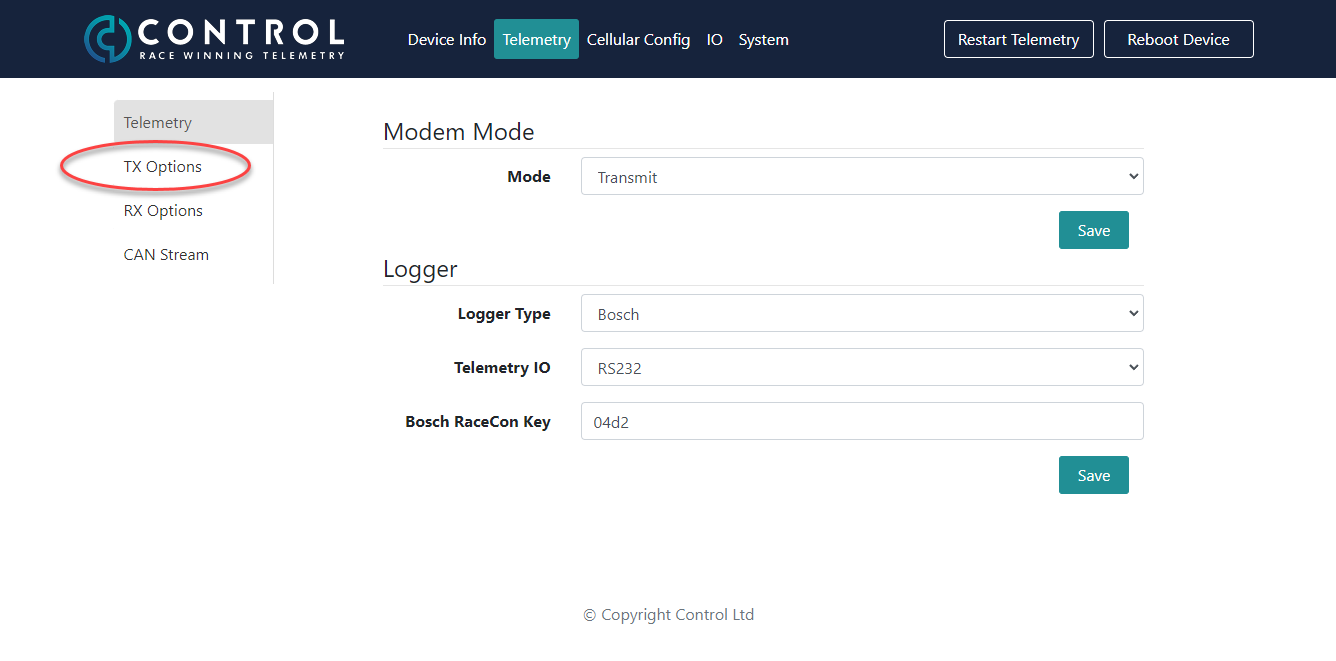
You will then see the following screen, the settings to change are highlighted below:
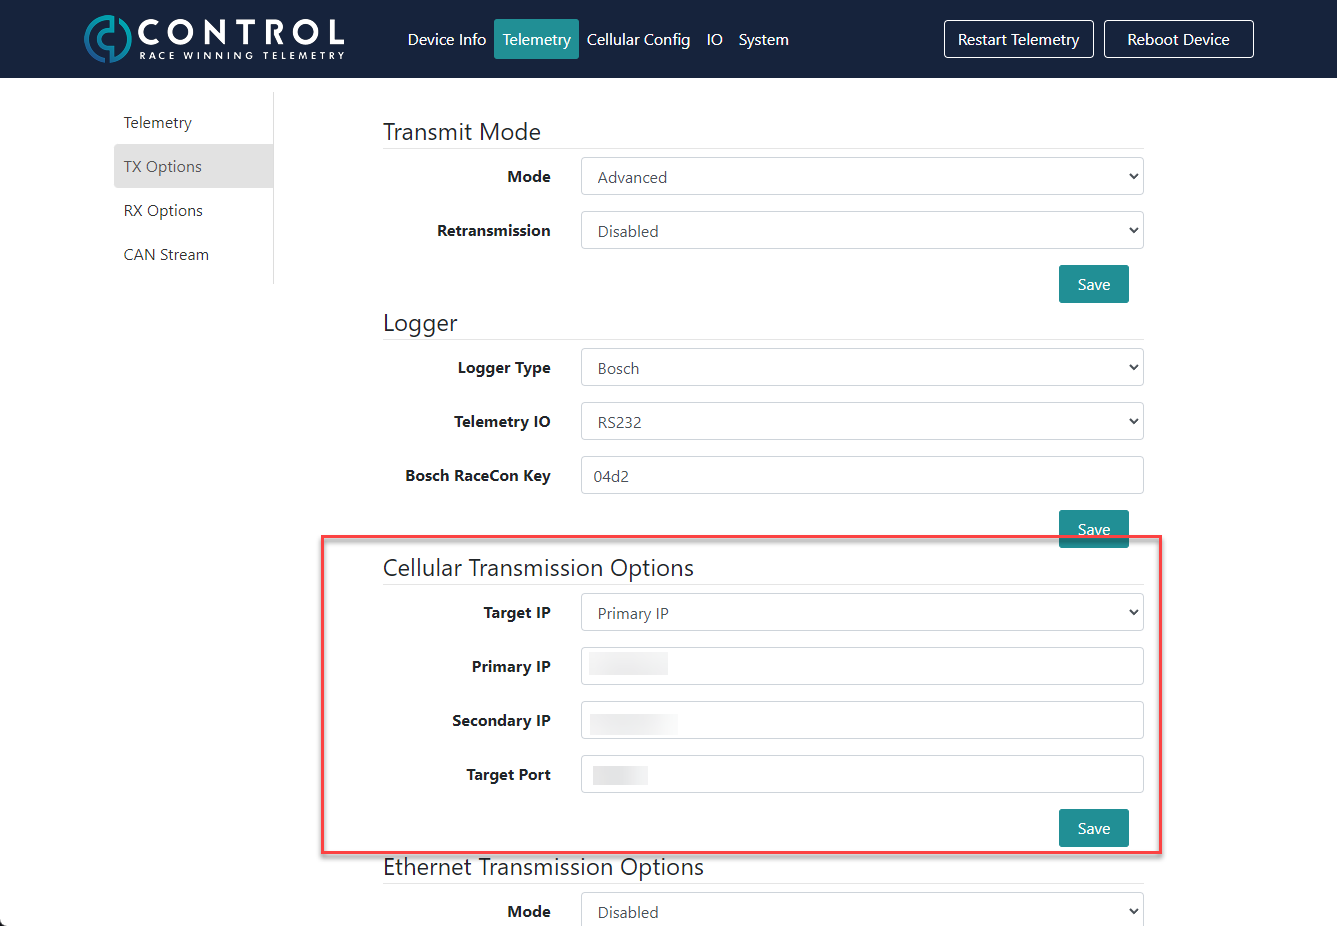
The Target IP field allows the following options:
Primary IP - Send data to the Primary IP address configured in the modem
Secondary IP - Send data to the Secondary IP address configured in the modem
Duel Transmit - Send data to both the Primary and Secondary IP address at the same time (please note this will half available running time in the selected service plan)
CAN Controlled - The data will be sent to either the Primary or Secondary IP address depending on the value of the CAN message, for further detail please see CAN Messages Received - DBC v1.7
The Primary IP field should be set to the VPN target address of the computer you wish to receive data on
The Secondary IP field should be set to the VPN target address of the alternate computer you wish to receive data on
The Target Port field should be set to match the vehicle port shown in Control Studio (or Telemetry Controller)
Once configured click Save and then at the top of the user interface click the Restart Telemetry button to apply the settings.
Finding the VPN IP Address
You can find the VPN IP address of the computer you are using in either Control Studio or Telemetry Controller:
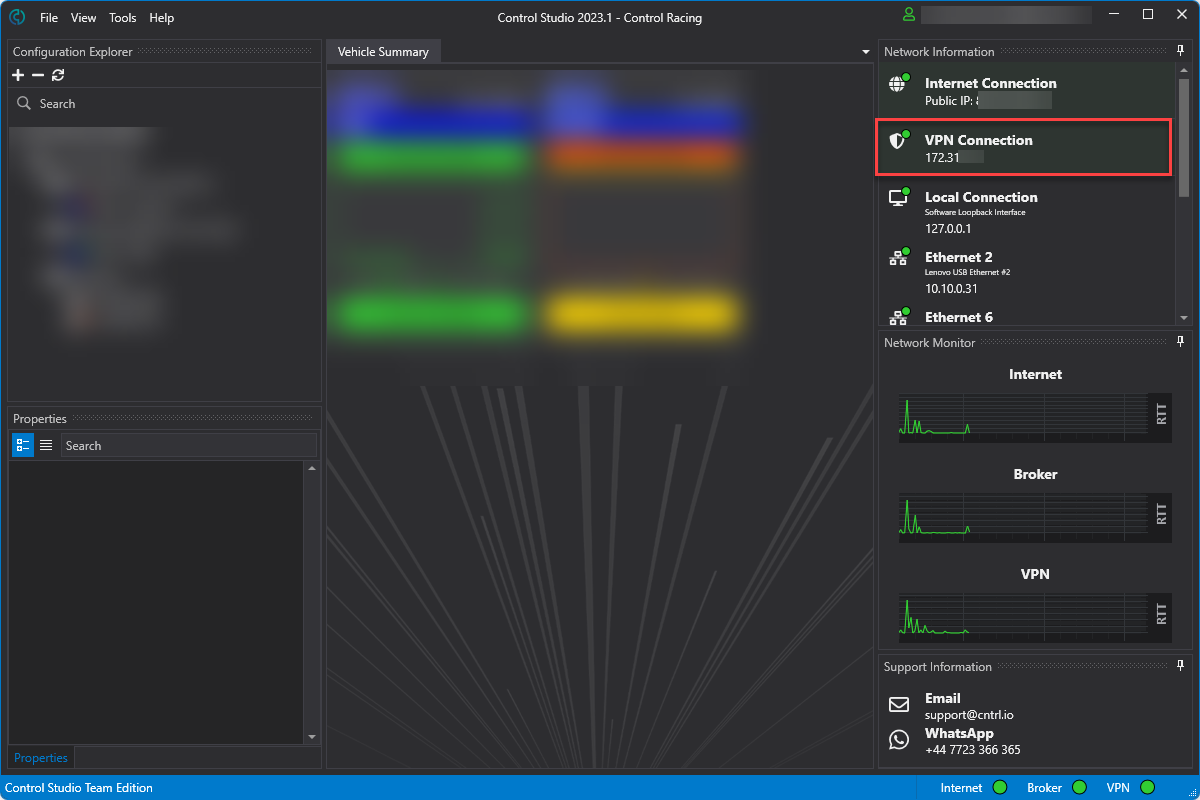
Control Studio:
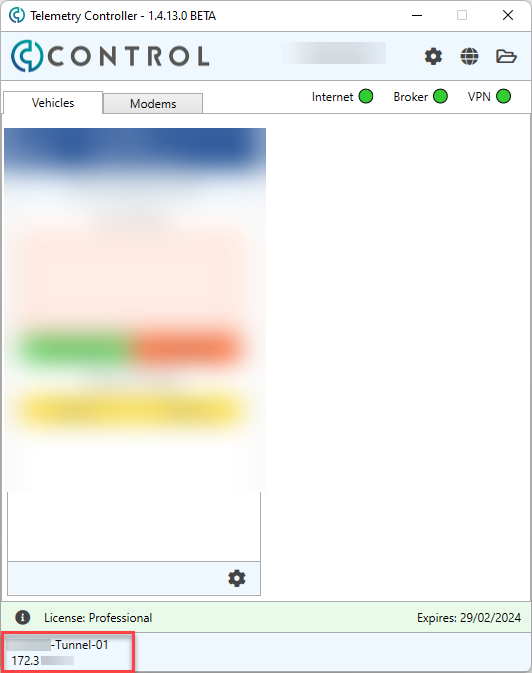
Telemetry Controller: